Secrets of Building a Campfire Revealed: Impress Your Friends!
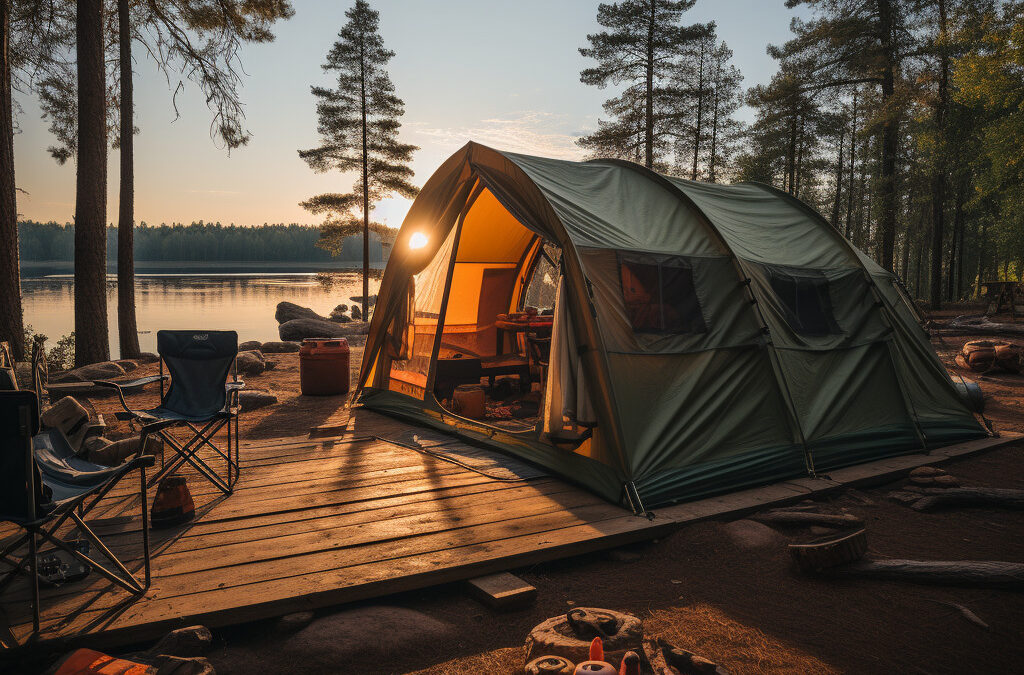
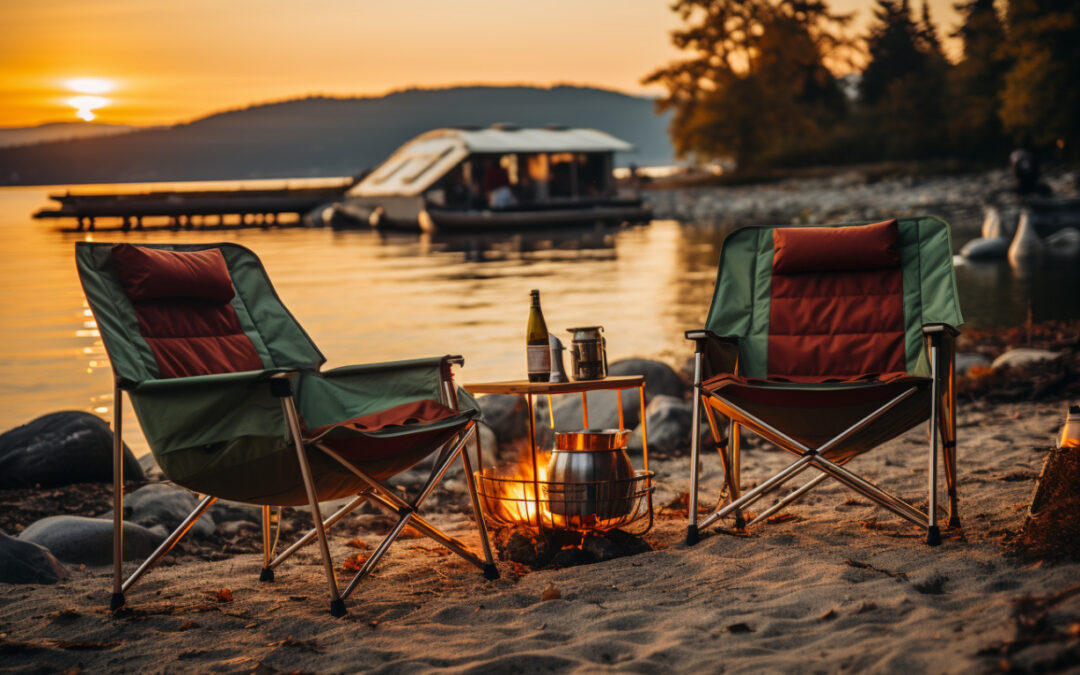
The Allure of a Campfire
Oh, the crackling symphony of the flames, the warm and cozy feeling it wraps around your body, and the mesmerizing dance of light – it’s pure magic, people.
A campfire is where we gather ’round with our fabulous friends and family to share juicy stories, belt out show-stopping tunes, and toast those marshmallows to perfection. Man, it’s the ultimate place to let loose, relax, and connect with the great outdoors.
There’s something primal about it. You can just feel it deep down in your bones – a connection to our ancient roots, darling. Humans have been drawn to these fiery gatherings for centuries, and who can blame us? Fire’s got that fierce power and undeniable beauty that simply captivates us.
But let me tell you, loves, if you want to truly master the art of building a campfire, you’ve got to know the ropes! It’s not just about tossing some logs together, oh no, guys. You need a little finesse, a little know-how, and a dash of pizzazz to make that campfire truly sizzle and shine!

The Importance of Building a Safe and Efficient Fire
As much as we love campfires, we mustn’t forget that they can be dangerous if not handled properly. A poorly built fire can quickly get out of control and cause serious damage to people or property. That’s why it’s essential to learn how to build a safe and efficient fire.
A safe fire starts with selecting the right location for your fire pit. You want to choose an area away from anything flammable like trees or bushes, but close enough to your camping site so you can enjoy the warmth and ambiance.
Once you’ve found the perfect spot, you need to prepare your materials carefully. Selecting the right wood is critical for building an efficient fire.
You want dry wood that will burn easily without producing too much smoke or sparks. Softwoods like pine or cedar are good options for kindling and tinder since they ignite quickly but don’t burn long enough as larger logs would do.
,kindling and tinder are essential elements in building an efficient fire: Kindling consists of small sticks or twigs; Tinder includes smaller items such as dry leaves or bark shavings. Both materials are essential to creating the perfect fire.
There’s nothing quite like a campfire. It’s where memories are made, friendships are forged, and stories are told.
But as much as we enjoy them, we must always remember to build them safely and efficiently to avoid any accidents or risks. So gather your materials and get ready to master the flames!
Gathering Materials
Finding the Right Location for Your Fire Pit
The first step in building a campfire like a pro is to find the perfect location for your fire pit. This may seem like common sense, but you’d be surprised at how many people fail to consider this crucial step. The ideal location should be flat and dry, away from any overhanging branches or nearby bushes that could catch fire.
If possible, choose an area with a natural windbreak to prevent gusts from spreading the flames. Another important consideration is proximity to water sources.
In case of emergencies, you want to be able to put out your fire quickly and easily. Make sure there’s a lake or river nearby that you can access easily in case of accidents.
Selecting the Right Wood for Your Fire
There are few things more frustrating than trying to build a fire with damp wood that refuses to light. To avoid this problem, select only dry wood for your campfire.
Deadfall or logs found on the ground are ideal since they’ve had time to dry out naturally. When selecting wood, look for hardwoods such as oak, hickory, or maple.
These woods burn slowly and produce long-lasting coals that are perfect for cooking food over an open flame. Avoid softwoods like pine or spruce since they contain high levels of resin that can cause popping and crackling as well as create sparks that can ignite nearby objects.
Gathering Kindling and Tinder
Now that you have the right location and wood selected for your campfire, it’s time to gather kindling and tinder. Kindling refers to small sticks or twigs that will help ignite your larger logs while tinder consists of small materials such as leaves, paper or cotton balls used to light the kindling itself.
Look for dried leaves or grasses under trees which have died and fallen to the ground as they make for excellent tinder. As for kindling, small branches or twigs that snap easily when bent are ideal for starting your fire.
Remember to collect enough kindling and tinder before starting the fire. It’s much easier to start a fire with a large amount of dry materials close at hand than it is to scrounge around as the flames begin to die down.
The Bottom Line
Gathering materials is an important step in building a successful campfire. Take your time selecting a safe location, and be sure to choose dry wood that burns efficiently without emitting too much smoke. Gathering enough kindling and tinder will ensure that you can get your fire started quickly and keep it burning throughout the evening.
Building the Fire Pit
Campfires are a quintessential part of any outdoor experience. However, building a campfire is not just about tossing some wood into a hole and lighting it on fire.
One of the most important aspects of building a safe and efficient campfire is creating an appropriate fire pit. A proper fire pit provides crucial containment for the flames and helps prevent wildfires, which can cause massive damage to the environment and put lives at risk.
The first step in building your campfire pit is selecting the right location. You want to choose a spot that’s far away from any potentially flammable materials, like dry brush or overhanging trees.
It’s also crucial to check for any regulations or restrictions regarding fires in your area before you start digging. Once you’ve found your ideal location, it’s time to dig out your fire pit.
The size of your pit should depend on how big you want your fire to be, but as a general rule of thumb, aim for around three feet wide by one foot deep. Digging deeper than one foot can actually hinder airflow which is essential for optimal burning.
Lining the Pit with Rocks or Bricks
To further contain your flames and prevent them from spreading beyond their designated area, lining your fire pit with rocks or bricks is important. Not only does this provide additional safety measures but also minimizes heat loss by reflecting heat back onto the fuel source.
It’s recommended that you choose stones that are natural rather than those treated with chemicals like concrete blocks because they release toxins when heated up which are not suitable for inhaling. When adding rocks or bricks into holes caution must be taken because placing too many bricks can make it challenging to start and control airflow while leaving gaps between bricks will make it difficult to light up.
Creating Airflow for Optimal Burning
To ensure that your campfire burns brightly and cleanly, creating airflow is essential. Oxygen is fuel for a fire, and without proper airflow, your flames can lose momentum or flicker out altogether.
To create optimal airflow, it’s critical to create a draft in the pit by piling rocks or bricks around the perimeter of the hole and adding some space between them. This creates a chimney effect that helps suck in air from below to keep your fire burning strong.
However, avoid building too high walls because they may block off natural winds that provide oxygen. It’s also important to consider wind direction when building a campfire.
Be sure to position yourself upwind of the fire so that smoke doesn’t blow directly into your face! Building a safe and efficient campfire pit requires time, effort, and attention to detail; but the rewards are well worth it when you’re sitting around the fire with friends and family, enjoying the beautiful outdoor scenery while roasting marshmallows.
The Teepee Method
Creating a cone-shaped structure with kindling and tinder
Ah, the Teepee method. Perhaps one of the most iconic ways to start a fire, this technique calls for building a cone-shaped structure by leaning kindling and twigs against each other around a center point.
This helps to create a small area of concentrated heat which ignites the tinder at the base of your teepee-like structure. It’s important to ensure that your teepee is constructed with dry wood, as moisture can dampen your fire before it has even started.
Additionally, try to use small pieces of wood for your kindling in order to make it easier for them to catch fire. For those who are camping in particularly windy conditions, building a teepee can be a great option as it helps you control airflow – just remember that wind can also spread embers quickly if precautions aren’t taken.
Be sure to add larger pieces of wood as your fire grows but be careful not to suffocate it by adding too much at once! Proper airflow is key here.
The Log Cabin Method
If you’re looking for an alternative method for building your fire that’s both practical and visually appealing, then look no further than the log cabin technique. This involves stacking alternating layers of kindling and larger pieces of wood in a square or rectangle shape – similar to how you would build logs when constructing an actual cabin.
While not as aesthetically pleasing as the teepee method in my opinion, I still find it more practical as it offers more stability for cooking over an open flame due to its flat surface area. One thing many people might not consider when using this method is how they place their kindling on top.
If you stack all the logs horizontally on top of each other then you will have poor airflow which will lead to a weak fire. Instead, it’s important to stack your kindling vertically, so that it acts like chimney which allows the air to flow through the logs and produce a vibrant flame!
Don’t forget to add smaller sticks and twigs on top of your structure to ignite the fire! They will serve as the foundation for all your effort and hard work.
Maintaining Your Fire
Controlling Airflow: The Key to a Perfect Fire
Building a campfire is just half the battle; maintaining it is the other. A crucial factor to consider in fire maintenance is airflow. Proper airflow will keep your blaze alive and burning consistently, while lack of oxygen supply can mean it dies down quickly or never ignites at all.
Adjusting logs in your pit will allow oxygen to flow through the flames, and you don’t want to let that happen too much or too little. Finding the sweet spot means controlling airflow but not suffocating the fire.
Using Tools Like Bellows or Fans to Increase Airflow When Needed
There are times when you’ll need to manipulate the airflow either way, and that’s where tools like bellows and fans come into play. They allow you to control how much air reaches your burning logs, which ultimately determines how hot it burns. You may need those tools more often if there’s a wind blowing from one side of your pit.
Adding Wood Properly: Placing Logs Perpendicular for Optimal Burning
When adding wood as your fire burns out, remember that placement matters! Logs placed parallel can block proper airflow, limit oxygen supply to the flame below them, and impede their own combustion. Instead of adding new logs parallel with previous ones, place each log perpendicular across two or three others in your fire pit—the ideal way for optimal burning.
Extinguishing Your Fire Safely: Pouring Water Over Embers Until They’re Cool
As important as building a good campfire is making sure you put it out safely once you’re done with it. Don’t ever leave an unattended fire smoldering away—winds change direction without warning! The only guaranteed way of extinguishing a campfire is by pouring water over the embers until they are cool to the touch.
Better yet, make sure you leave your campsite with no sign of fire. A good campfire builder always leaves a clean and safe camping ground long after they’re gone.

Conclusion
Mastering the art of building and maintaining a campfire requires both skill and patience, but it’s worth it when the flames finally leap up in dazzling tongues of heat. To build a perfect fire, you’ll need to pay attention to detail, from gathering materials, selecting wood and kindling to adjusting logs to allow oxygen flow through them while controlling airflow.
Most importantly, remember that safety comes first. Always extinguish your fire safely before leaving— and leave no trace!
With enough practice and determination, anyone can master the flames like a pro. Happy camping!
Camping Gear Checklist Download
| First-Time Camping Tips | ||
|---|---|---|
| Shelter & Sleep System | ||
| Camp Kitchen & Food | ||
| Camp Cooking Extras | ||
| Serving and Tableware | ||
| Cleanup | ||
| Campfire Tools | ||
| Extras and Camping Activities | ||
Campsite Planning
Make sure to plan your campsite location and any additional requirements beforehand to ensure a smooth camping experience.