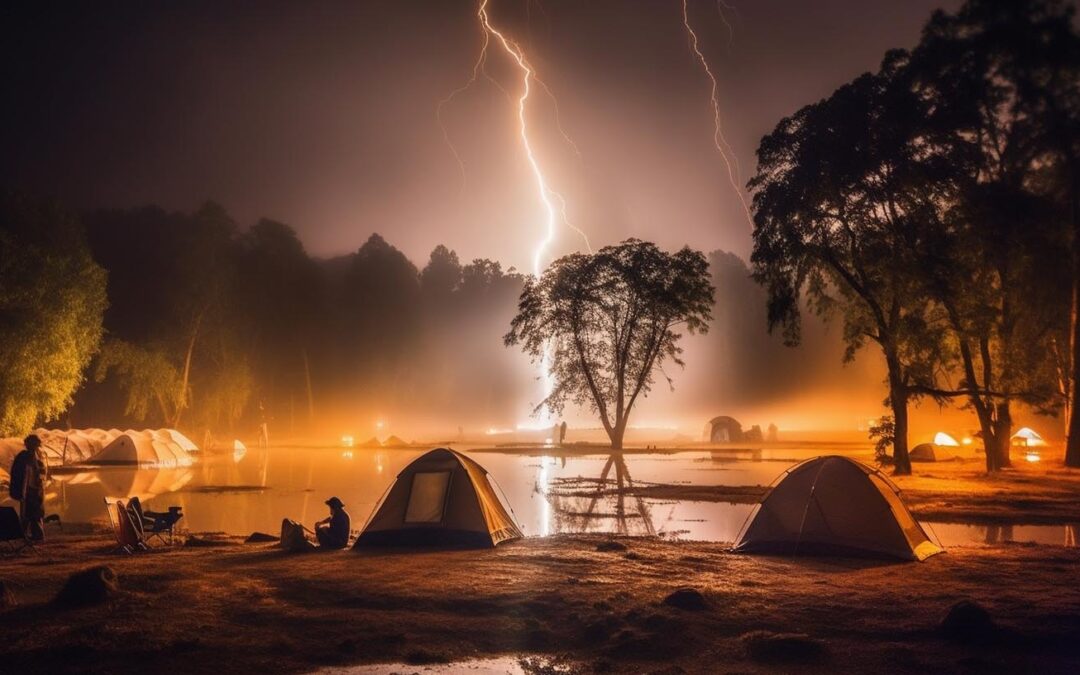
Camping is a great way to unplug and connect with nature. Learn expert tips for delicious and safe camping cuisine. Plan your meals, cook over a campfire, and stay hydrated. Also, practice Leave No Trace principles to minimize your impact on the environment.
How to Make A Campfire: A Beginners Guide to Flame!
Why is a Campfire Important
A lot of people see the time spent around the campfire as the soul of the camp. Perhaps they’re exaggerating a bit, but we understand the importance of the campfire.
Camping isn’t complete without a campfire. Aside from the warmth generated by the dancing flame, lots of camping activities are only made available by having a fire.
- Cooking Food (Smores)
- Boiling water (Coffee)
- Drying Wet Clothing and Gear (Rain)
- Lighting Camp (Darkness)
- Raising spirits (nerves)
Not only does it give you a physical attribute as heating there is a mental side as well. It helps make you feel safe and secure. At least In my mind.
keeping the critters away at night is a significant effect fire has as well. I don’t know of many animals that will come toward a camp that is lit by a campfire. (honestly, I don’t know any critters, just an example…;)
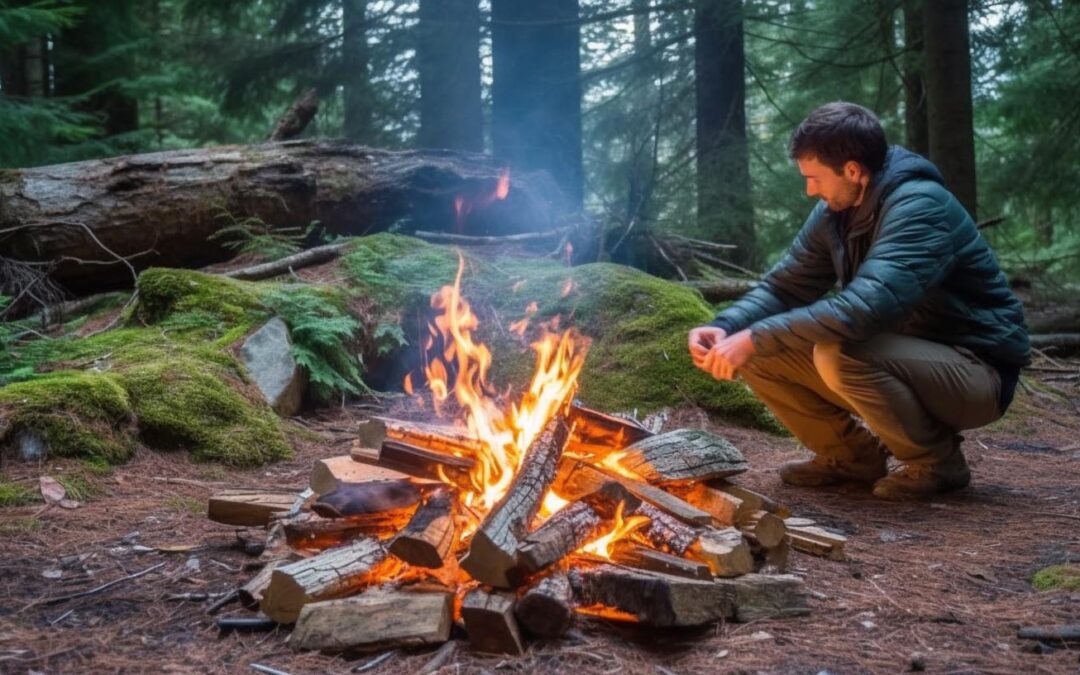
Starting A Fire
Knowing how to start a campfire is a skill you should know before going camping. In this piece, we will explain how to start a campfire and the different styles to accomplish this.
Before we go into the ABC’s of how to start a campfire, a little insight on the chemistry of fire itself will help your case a little.
Speaking of ABC’s a fire needs three core elements; Oxygen, fuel source, and heat. Once these three elements combine in the right order, They create a chemical reaction known as Fire!

The Fire Triangle
They call it The Fire Triangle, it is the basic chemistry behind a flame.
- Oxygen (O2)
- Fuel (Wood – Fuel)
- Heat source (Ignition – Spark)
The fuel source could range from papers, oils, to chunks of dry leaves. But for a campfire, dry wood is the standard used fuel.
Campfire Location
Depending on the location of the campsite you might have to improvise accordingly. In the warmer times of the year, just about everything can serve as fuel.
Of course, we don’t recreate only in those times and moisture may cause issues when using natural resources in the wetter and colder months.
Natural Resources
If you are camping in the forest and it has been dry, you will most likely not have an issue finding fuel for the campfire. Small twigs to dead trees will be abundant most of the time.
( Check your local burn bans and code at your local forestry dept.)
If you are camping next to water sources or up in the mountains with heavy snowfall the resources might be more on the damp side and finding burnable fuel can become a very stressful situation if your campfire experience is low.
Other Essential Tips
Be prepared the best you can. Bring waterproof matches; a lighter, a striker, a magnesium strip, anything you can bring along that can help your situation if you get yourself in a bit of trouble will go along ways.
To create a campfire, you need to have the necessary resources. Take a tour of your surroundings and see what you can find.
Wood will mostly be available, but its condition will depend on the weather situation around the area.
Getting a campfire started doesn’t just involve stacking some limbs or fallen trees onto a fire ring and lighting it on fire.
This style can work, don’t get me wrong, to sustain a fire it needs to be nurtured and done in a way you will not run out of fuel to fast, and it won’t go out due to the elements.
Successful campfire building in the wilderness requires some fundamentals you must have to start one. We will take a look at them now!
Fuel Gathering
Situations
The speed and effectiveness of starting your fire will largely depend on your level of preparedness and ability to gather fuel. This will depend of course on your circumstances.
If you become lost and you are not prepared for this, the whole situation becomes dire, and the need for fire becomes almost an emergency, in some instances.
Finding fuel in this type of situation is stressful and can be dangerous. If its dark out and you can’t see anything finding just the minimal amount of resources to get the fire going should be a priority. (Try and gather plenty of fuel to burn long enough to be able to get more though.)
Once a fire is started, and you have light then you can find more resources easier. Remember speed will be a factor. Fire burns quickly, and you need to keep it fueled.
Although if your camping with friends and family or on a hunting trip, the situation entirely changes and is more laid back and your fire starting necessity may not be as urgent.
Many time fire fuel is brought with us in these instances and fire starting becomes a fun activity we can share with friends and family. (One of my favorite things is to watch my children practice these skills)
Materials
It would be best if you seek out the driest logs and pieces of wood. This will save you from the stress of having to expend more energy and resources trying to get through the wet exterior.
(It is possible to burn damp wood it is just incredibly time-consuming and challenging)
There are different names used for referring to wood resources based on their size or their sources, and for your campfire, you sure will need most (if not all) of them.
Tinder – material that will take the initial ignition and become the start of the fire. Usually a small dry substance such as dry tree needles, moss, or wood shavings, etc.. (Burn approximately 10-30 seconds)
Kindling – small twigs and branches generally under 2 inches in diameter and about 8-12 inches long. This is the “get the fire going” material. (burn approximately 1-4 mins each.)
Limbs and Branches – Larger diameter wood that has fallen from trees to the ground and can be cut up into 12-20 inch lengths. (burn approximately 20-30 mins each.)
Logs – fallen tree trunks that can be bucked up into long-lasting firewood. Usually, 4-24 inches in diameter does take longer to process but also burns much longer. (burn approximately 30min -2 hours each Depending on size.
Warning – Please respect our wilderness areas and unless it is an emergency do not cut down, limb, or break wood off living trees. The wood sucks to burn anyway and its devastating to the environments. Just a thought.
A heat/fire source Having a good ignition source will increase your fire making abilities by a lot. Don’t rely on one type of source either. Make sure to have a few options in your gear.
Waterproof matches Can be purchased for your camping gear and should be in everyone’s kit for emergencies. Depending on your source they can work or they might not.
Butane Lighters (Bic) These also can be put into your camping gear to help with fire starting. This is the way most people will be able to get a fire started quickly and easily. The downfall is that one they get wet they are garbage.
Strikers (Ferro of, Magnesium strip, fire steel), All of these, are for emergency uses and can work when wet. (Most of the time).
Friction Fire (bow drill, Hand drill, etc.) These are more of a primitive and last form of survival technique to get a fire going. Unless, you know how these styles work and have used them, achieving fire this way is extremely difficult.
SETUP
After securing all the materials that you will need for your campfire, the next logical thing to do is to set up the fire.
You have your wood and other fuel sources; you have your ignition, now is the time to put the materials together and get the fire you need to be started.
However, to have a good flame, you must take the time to prepare your campfire site. This involves taking some necessary precautionary actions and clearing the area of materials that could prevent the setup of a good campfire.
Clearing and setting Is there an existing fire ring (a spot where previous fires have been made)? Go on and clear away the cold ash and charcoal.
Doing this will present you with enough room to arrange your wood and fire materials for the new burn. You may leave the old ashes at the edge of the ring or do away with them altogether. Depending on how cold and damp they are they could affect the new fire.
If there is no existing fire ring, you will need to clear out a spot for your campfire – this would mean that you will have to remove dead grass, vegetation around your chosen place.
Using your shovel, lightly scrape off the soil from the fire ring, and keep it nearby in case of an emergency. You are free to use the freshly removed earth as a border fence for your fire ring, or you may choose to use rocks (recommended).
I always try to use rocks, and if necessary use the earth that’s been dug up to fill in gaps.
(Be aware of your surrounding don’t be that person that starts a wildfire that burns people out of their home)
Burn it up!
Structure
At this point, you have cleared your fire ring, and you are ready to start setting up your kindling and wood for the fires. Some fire types are best suited for different occasions.
Before we go on to discuss them, take your tinder as we talked about above or some light wood, paper material, cardboard and place them at the center of the fire ring, it shouldn’t be more than a foot in diameter.
Now to the fire! Most people do not realize that there are several forms of campfires, and each has a specific purpose that they serve.
The following are some campfire types you can set up and their designated functions.
Log Cabin Fire – This is a fire that is intended to last long. It is great for long nights in the winter.
Lean-to-Fire – This is a fire type that is great for cooking. It is not meant to last long. Use small pieces of kindling and tinder to start the flames and then add more wood as the fire grows.
Teepee Fire – The Teepee fire is great for cooking. All you need to do is to arrange the sticks in a teepee above the position of the tinder.
Cross Fire – Also suitable for fires that are meant to last for a while, the Cross Fire differs in wood arrangement slightly as the wood pieces are placed in a criss-cross manner.
Ignition
On to the final part of it all and that is lighting the fire.
Keep kids and pets away by a safe distance before you set fire to the tinder. Light it up from several edges. This ensures the tinder lights up quickly.
Never use gasoline regardless of the circumstances you might find yourself. Gas is extremely volatile, and the situation could escalate rather soon especially when in the woods.
All Done?
When you’re through, and the fun is over, ensure that you thoroughly and exhaustively put out the fire.
Do these strategies to avoid problems. Gently sprinkle water onto the flame. As you continue doing this, watch the embers and stir them gently while pouring more water. Continue until you can no longer hear the hissing sound of the embers.
That’s it; you’re good to go.

This site is operated by Docslys Design, which is a participant in the Amazon Services LLC Associates Program, an affiliate advertising program designed to earn advertising fees by linking to Amazon.com.